
Stamps with a Southern touch
Hey hey! Thanks for joining my adventures!
Today I’ll show you the fun process of actually making a stamp. It all starts with a sketch on a piece of paper, like this:

So, step #1 is to make your design. Sketch it on a piece of paper and then transfer the drawing to a tracing paper. Step #2 is to transfer the drawing from the tracing paper to the carving block. You can use your nails to transfer the drawing to the rubber, or a coin.

When you are transferring more than one design at a time, make sure you leave plenty of space between drawings, that will allow you to carve around comfortably. On the other hand, you want to use your carving block efficiently, so ideally you’ll find a healthy balance between not using too much free rubber space and carving at ease.

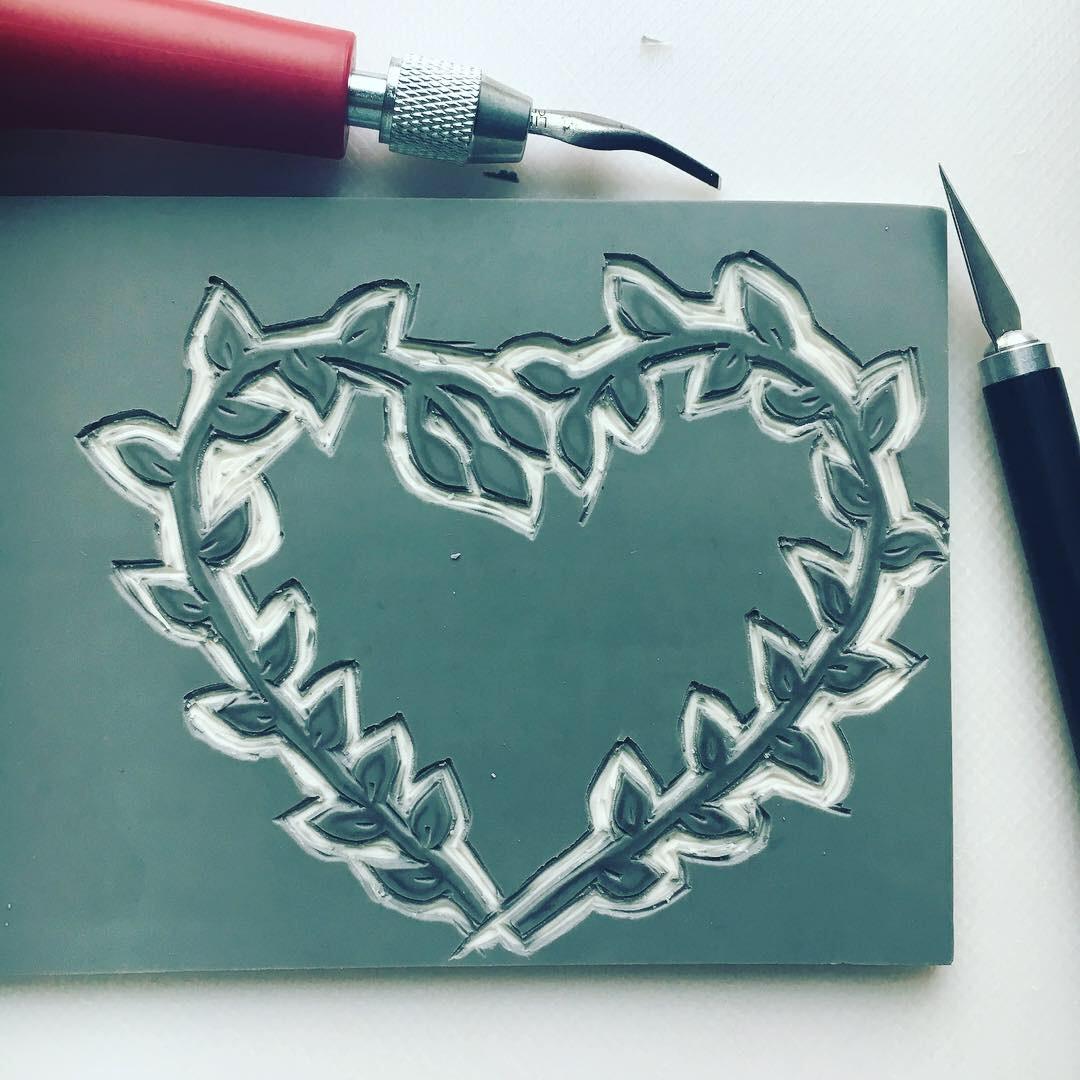
Did I mention this is as easy as 1, 2 , 3? No? Well, maybe that’s because it’s only three steps, but this last one is the hard one: start actually carving your rubber stamp! But let’s be clear about this: if I can do this, so do you!
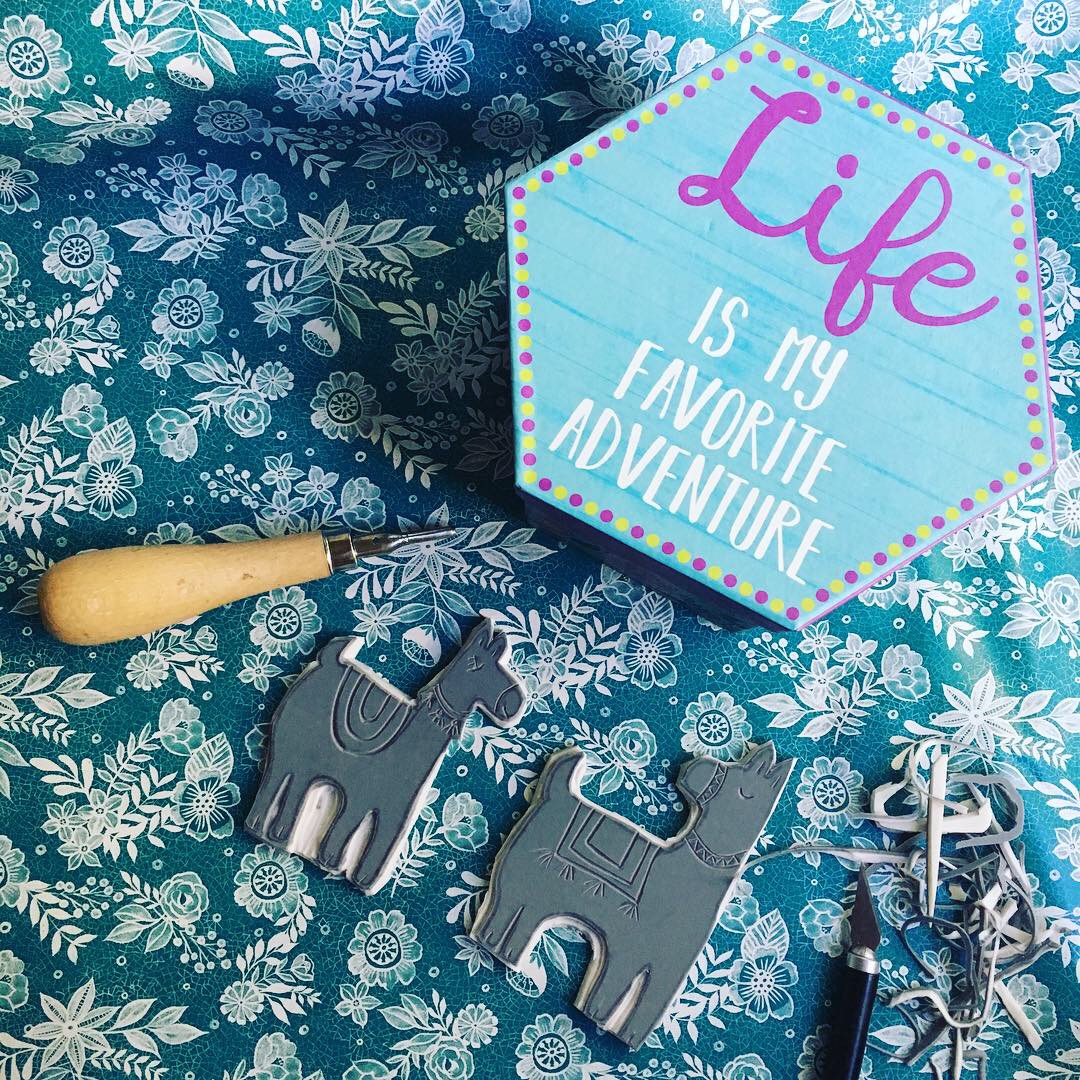
Let’s get started with step #3 then, carve your stamp! I find it easier to cut around the figures, leaving somehow generous space around them so that you can be comfortable that there are some extra millimeters to make some mistakes… Unleash your precision and start cutting and carving. Usually you will need a scalpel for the big cuts, and a carving tool with one, two or three different blades. Here I’m using the Speedball carving tool and the carving tool that comes with the Yellow Owl Workshop carve a stamp kit which is such an excellent quality staring kit!!
The carving block I’m using here is the one from Blick that are very cheap, but honestly, not the best quality if you want to give the stamps frequent use. I recommend the Speedball carving block instead, not so much more expensive and excellent quality! The block that comes with the Yellow Owl kit is awesome as well, I need to find out the supplier of those! If you know, let me know 😉


I’m positive that carving your stamp will be such an extraordinary experience! It’s so much fun and satisfying! Of course it can also turns wrong, as any tiny little pressure will leave its mark… whether you want it or not.
Sometimes there’s even a solution to it. Let me tell you about this particular set of cute llamas. When I first started carving, I didn’t think about them having a defined genre. Turned out that a stroke when carving the eye of one of them went longer than I wanted it to. AWWW! That moment when you wished you could turn time back!!!
A couple of breaths later, that longer stroke became an eye lash! Automatically turning that llama into a Lady Llama 😉 And actually turning the set of stamps into the “Llama in love” set.

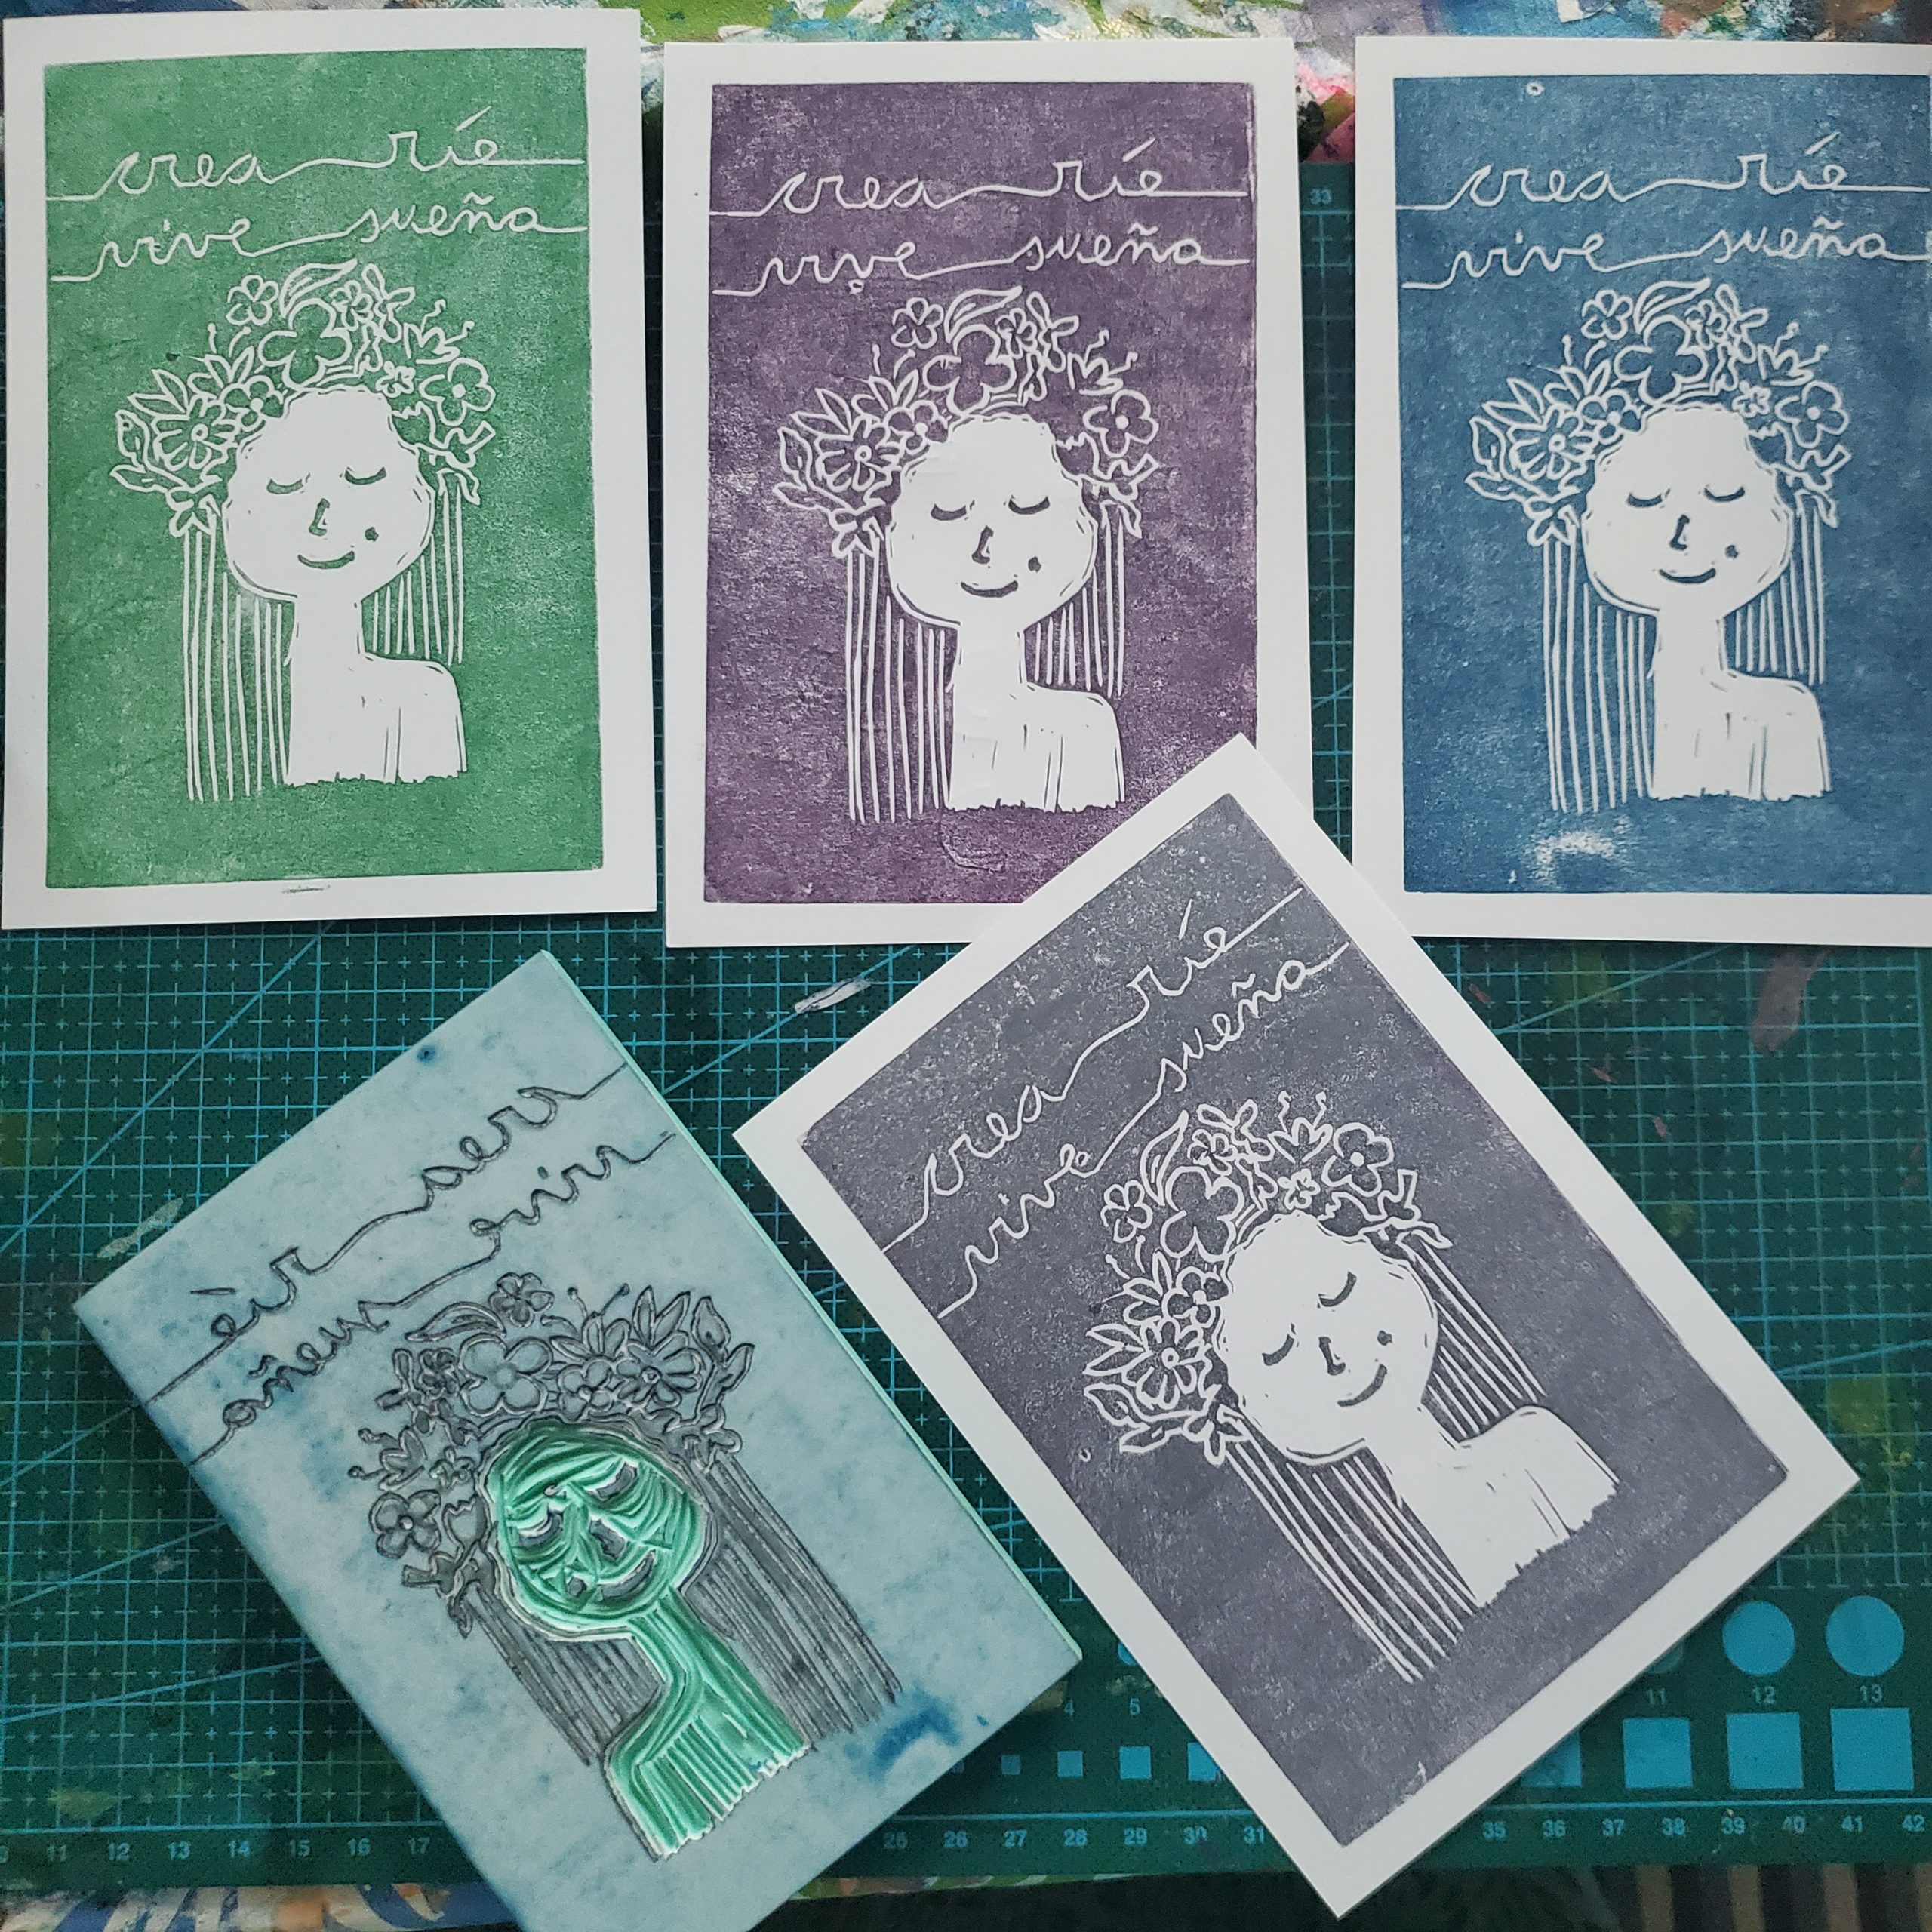
And now let’s see how the “Lady Llama” prints…

Would you have noticed about the eye if you didn’t know? I bet not… that’s the magic of rubber. Of course, not all are success stories… but truth is we are only inspired by knowing things can be done by us, not by reminders of how everything can go to hell in a minute, are you with me?
I love llamas because they’re cute and they also live in my country of origin, Argentina. There is so much to know about our world, so it’s always nice to show to the others what is close to you and your heart.
Llamas are relatives to the camels and live in many places in South America, in the Andean mountains. They live in strong connection with human communities, providing food, wool, and as carrying animal.
I hope you get crafty and try carving your own stamp soon! If you do, leave me a comment here or send me the picture of your print to mery@mystampedworld.com. Hit subscribe if you’d like to get more tips and inspiration, enjoy creating and see you soon!
Mery
You may also Like
Refreshing news and getting back to art flow
Perfect imperfection